IntroductionAfter a couple of years of life changes, the itch to revisit robotics has taken hold. The
first robot was something that I rushed into and made some crutial, and costly, design mistakes. This time around I have had time to revisit new products and come up with a new robot design, '
Project: Burt'.
It's been great re-visiting web sites and forums I have been to before, such as
Sparkfun and
Pololu. It was also encouraging to find two UK suppliers that I hadn't seen before, namely
Cool Components and
SK Pang.
Being away from the home-brew robotics community, for almost a year and a half, has meant that I had some catching up to do with the evolution of robotics parts. Immediately three parts jumped out at me;
Robot Rover for Arduino (Tank Kit),
Serial Controlled Motor Driver (ROB-09571, ATMega328), and the
Arduino Duemilanove (ATMega328).
The
ATMega328 used in the Duemilanove and Serial Controlled Motor Driver (SCMD), looks like a perfect micro-controller to use as a sensor analyser and communications hub. Plenty of digital IO and analog inputs to play with. It was a bit overwelming, and warming, to see the rise of the Arduino products. A heathy development community has sprung up. As I thought about various sensors, controllers, communication sub-systems, most of my questions as to what to use, and how to use/connect them, were answered via
Arduino's wonderfull web portal and forums.
Design ListWithin a few weeks my thoughts for '
Project: Burt' were starting to come together. As a starting list I had the following in mind;
Arduino Duemilanove- As the main controller.
Robot Rover for Arduino- As the main chassis.
Serial Controlled Motor Driver- As the motor controller (incl. overcurrent detection).
Pololu Pushbutton Power Switch LV- As a potential power switch for the motor controller.
Dimension Engineering Accelerometer (
DE-ACCM2G)
- A buffered ±2g accelerometer based on the Analog Devices ADXL332.
IR Range Sensor (Sharp
GP2Y0A21YK)
- Included with the Robot Rover kit.
OrderingTwo orders later, I have a desk full of parts :)

Included in the orders we're a handfull of other goodies; An Arduino
Starter kit (C), an Arduino
ProtoShield Kit, and a couple of
MCP23008 and
MCP23016 IO extenders (with I2C interface) for future expansion (e.g. LED segments, Servos, USB host connection, VirtualCogs interfacing, etc.).
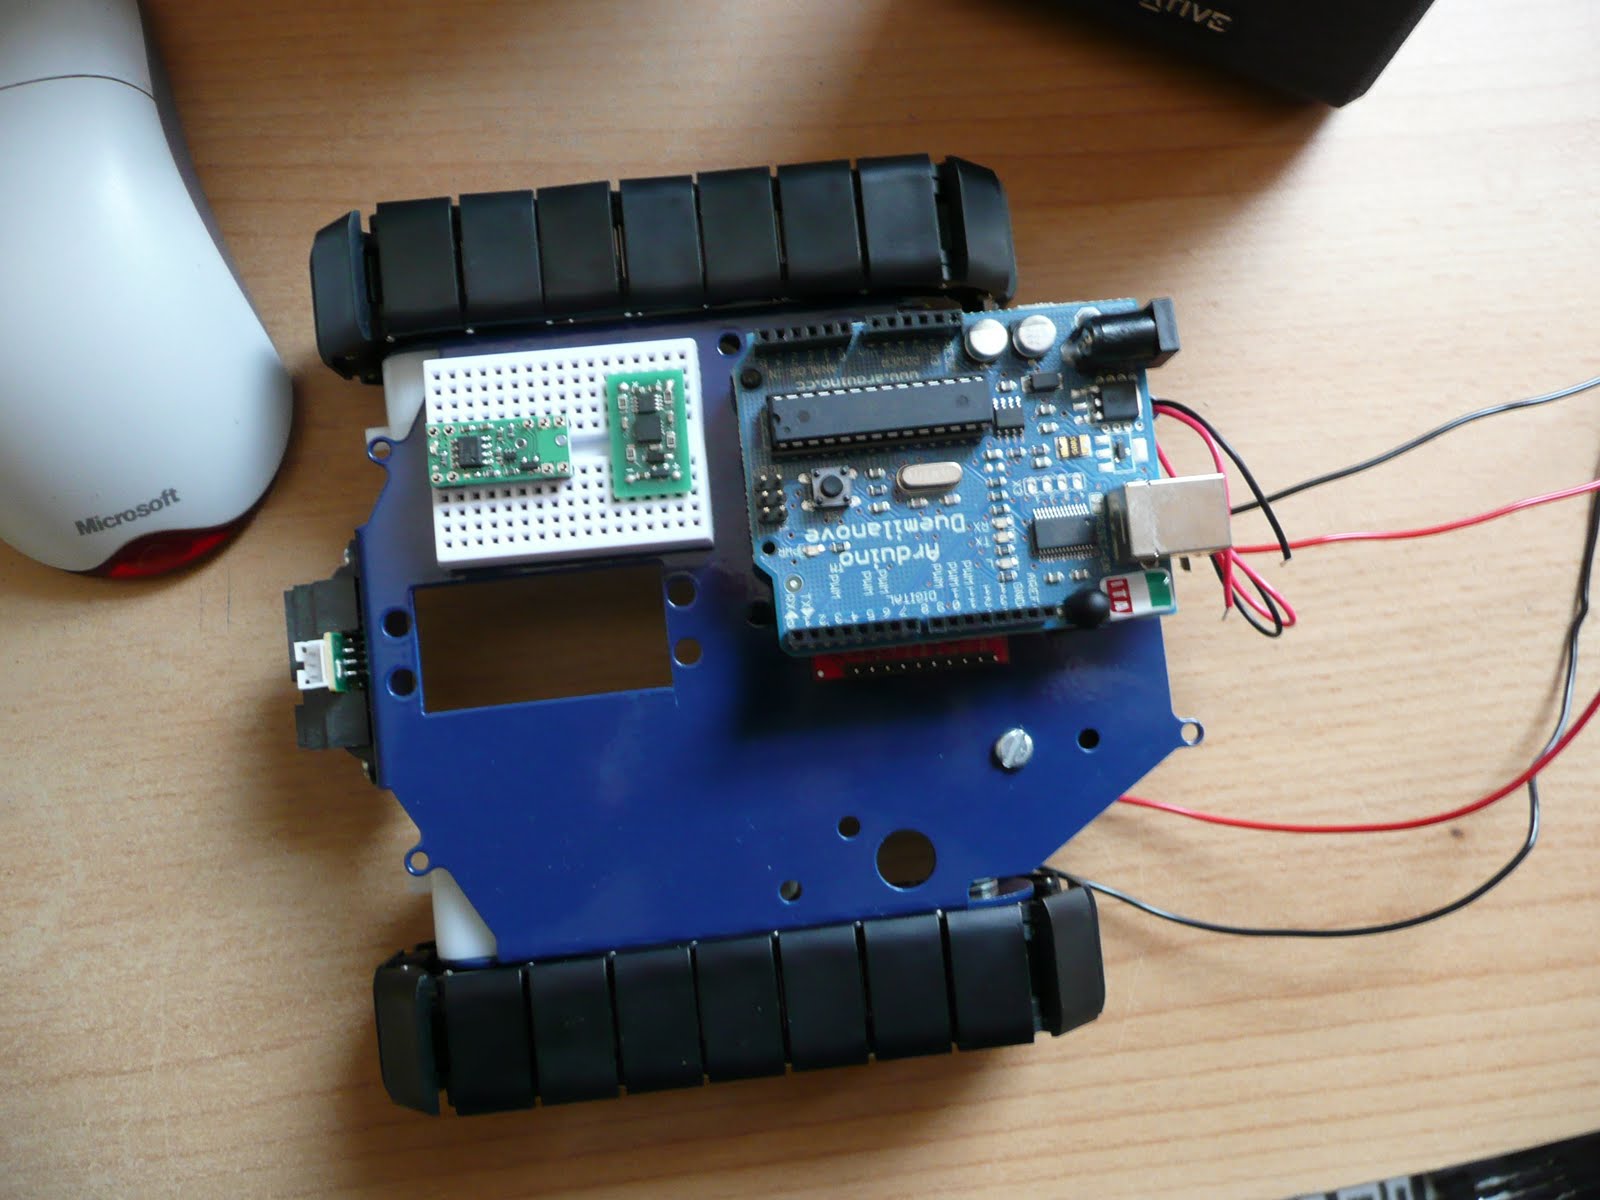
Physical Layout

The Arduino is placed on two stand-offs, so there is about a 1cm space below it to mount the motor controller. If any heat issues arise there are other mounting holes on the chassis to use. But for the moment this looks like a good starting point.
The main boards that need individual testing;
 And so, it begins
Over the next few weeks (months) I'll be continuing along like my first robot blogging. Fleshing out the
Google code project with links, Arduino PDE code, Eagle schematics, more photos and videos. A detailed step-by-step guide to getting Burt up and running.
Unlike the muddled mess that was my first robot, Burt is so far shaping up to be a nice project to get back into robotics. Plus a new starting point for vision experiments. Maybe I'll be able to get the old Virtual COGs boards dusted off and make use of the lovely Freescale i.MX21 266MHz ARM9 processor, and maybe save up for something like the
Surveyor Stereo Vision System...